Body Candy's Guide to Healthy Ear Stretching
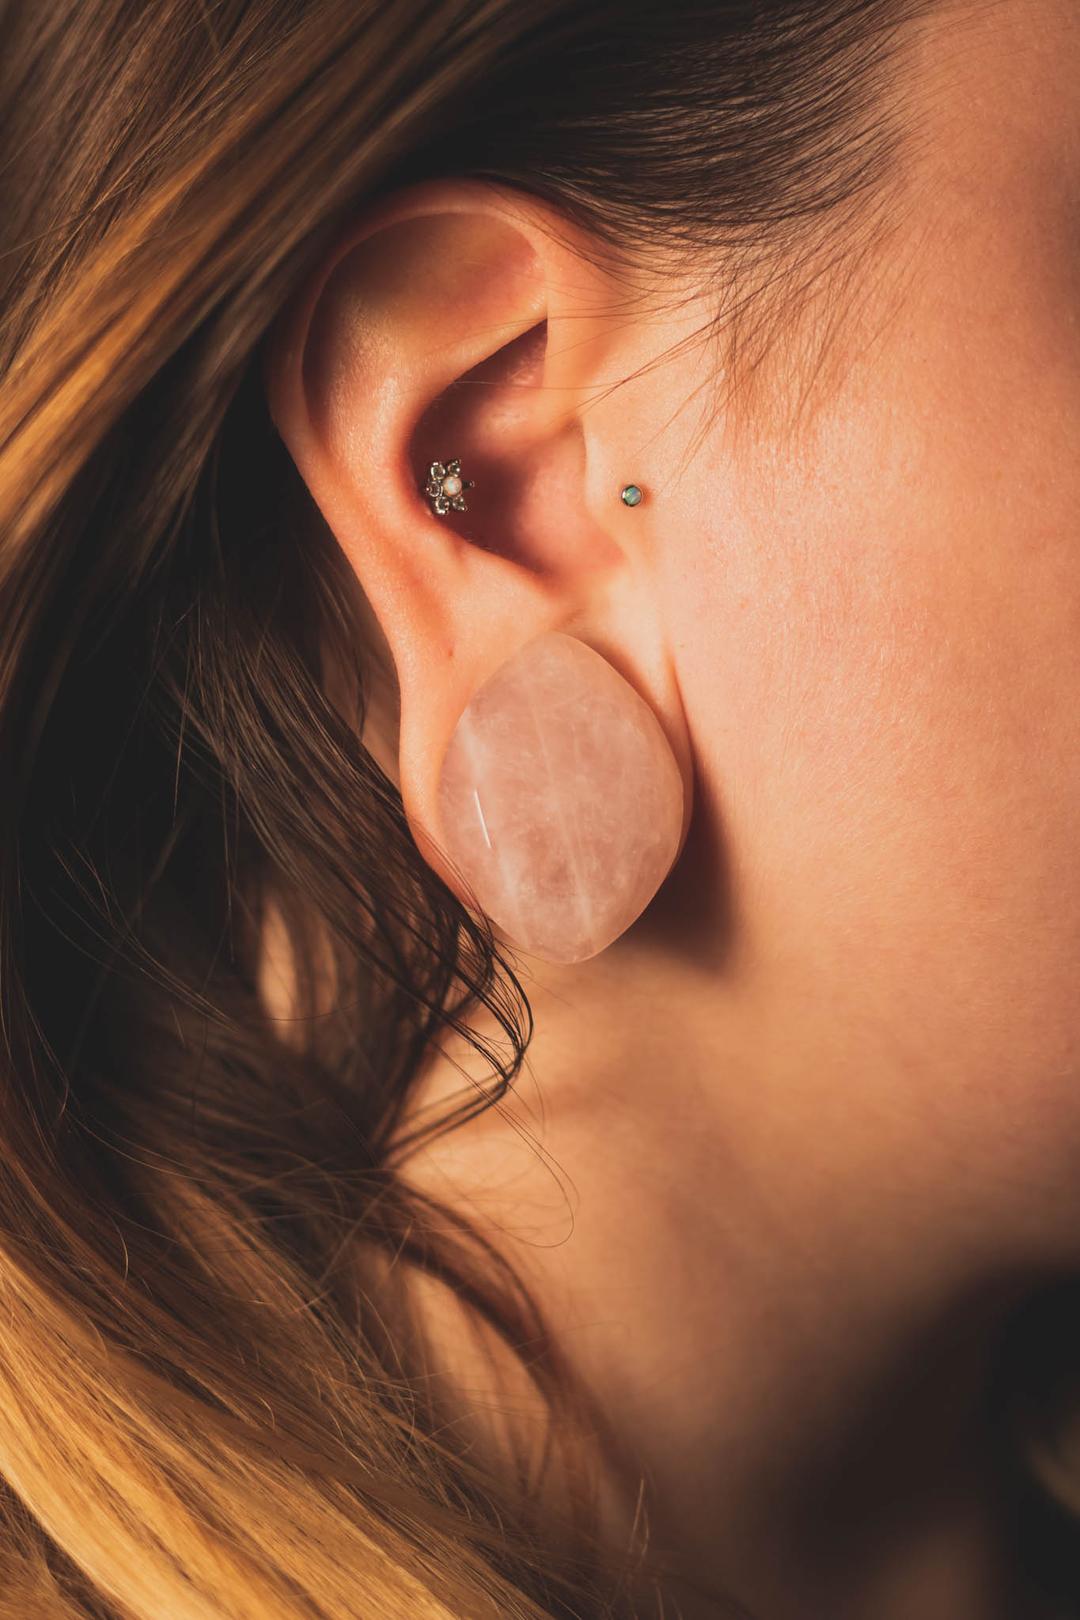
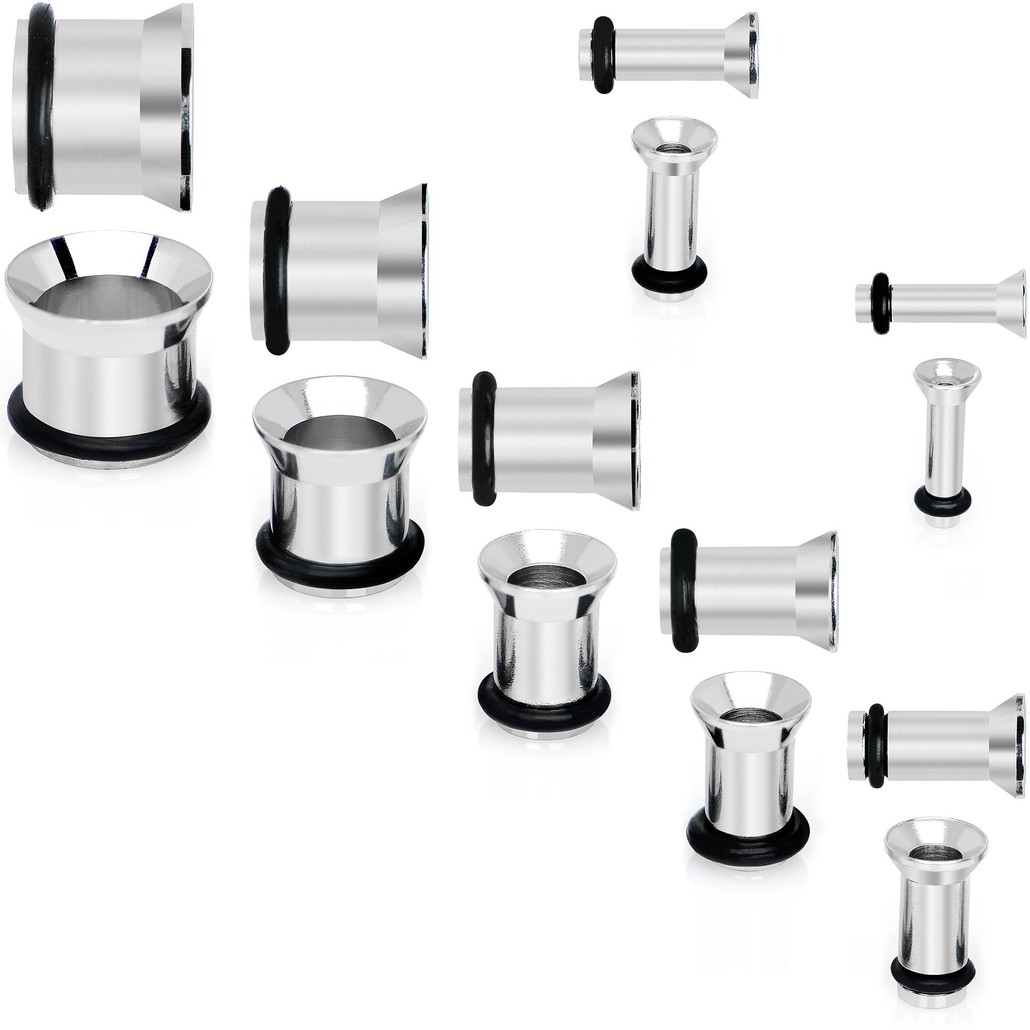
Have you ever seen a large, cylindrical piece of jewelry filling out someone's stretched earlobe? They're called plugs (not gauges!), and they're one of the most common body mods in the world.
But how does one stretch their ear to accommodate a plug? What is a gauge? How does a taper work? Can stretching my ears too fast really hurt my skin? Body Candy is here to help!
Disclaimer: Body Candy is only here to offer helpful suggestions to help you along your stretching journey... If you develop any medical complications while your piercings are healing, be sure to consult your professional piercer. They are fully trained and licensed to give you the best, professional medical advice.
Plugs Vs. Gauges - What's the Difference?
You may have incorrectly heard plugs identified as "gauges." Let's clear that up right now:
The "gauge" of a piece of jewelry refers to how large the piercing hole needs to be to accommodate an item.
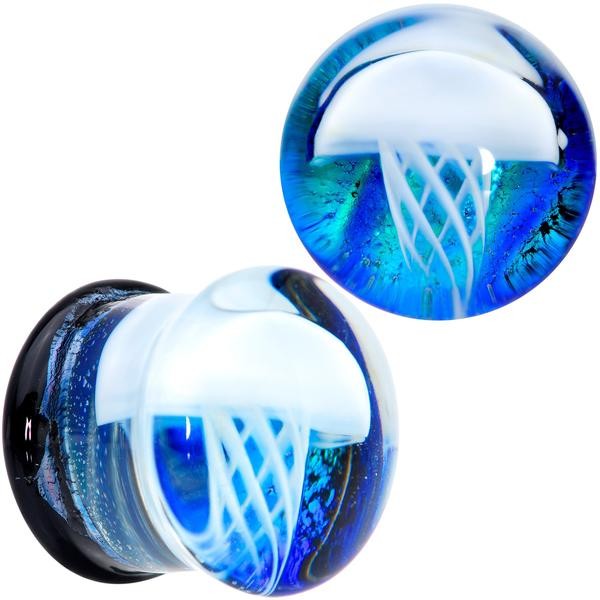
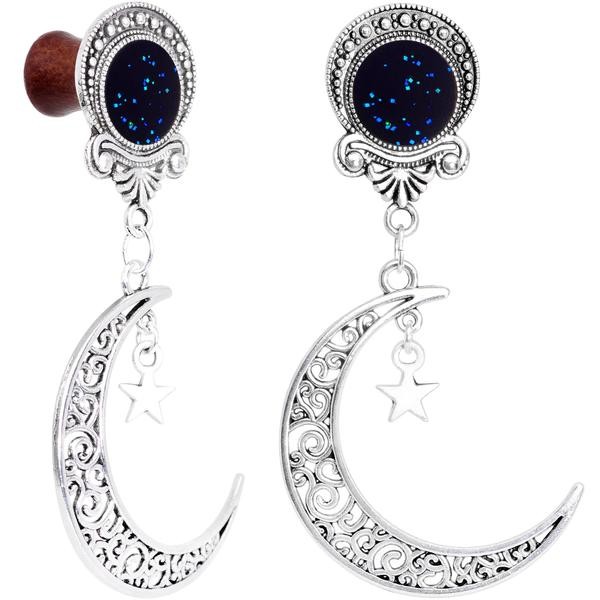
A "plug" refers to a type of cylindrical or tear-shaped jewelry worn in a stretched lobe.
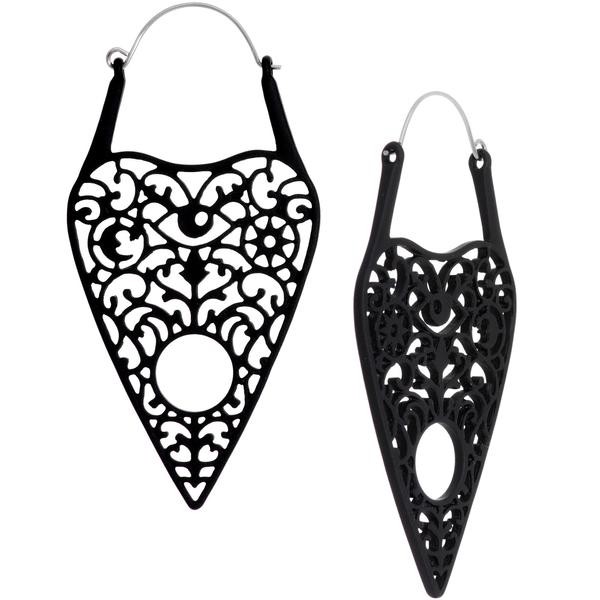
Other types of jewelry that can be worn in a stretched ear include: tapers, hangers, and tunnels.
First Steps:
Go to a local, professional piercer!
Although it may be tempting to reach that elegant, inch-wide look right away, try to look at the process of stretching your ears as a marathon - not a sprint. Be patient. Stretching your ears steadily, consistently, and carefully will help drastically with overall lobe health and can make or break the overall stretching process.
A good rule of thumb for stretching: you should never be in pain during the process. Listen to your body. A little bit of discomfort during the process is normal, but if your ear starts to hurt during the stretching process, you're probably pushing your anatomy too hard.
Most importantly, this is a really good opportunity to start a relationship with a piercer you trust. Explain to them that you're looking to stretch your ears - this will help them choose the correct size gauge needle to pierce you with and will also help them with placement. Professional piercers are licensed and qualified to give you the best possible medical advice.
What to Know Before Starting the Stretching Process:
Once your ear is ready to start the stretching process, you'll most likely start with an item that is 16g (most "regular" jewelry is 18g).
Everyone’s body is different as far as elasticity and healing times are concerned, but either way, you'll need to make sure your initial piercing is fully healed before you start stretching which may take anywhere from three (3) to four (4) months.
From there, it is a general rule of thumb to wait at least six (6) weeks before stretching your ears to the next size. For the best possible results, waiting a few extra weeks or months to stretch to the next size will give your ears the optimal amount of time to adjust to the new size.
If you stretch too quickly, you may experience what is known as a "blowout." A blowout occurs when the healed tunnel of flesh (aka the "fistula") is forced out of the piercing. If a blowout is not properly dealt with, it will leave a patch of extra skin around the piercing, which is uncomfortable, unhealthy, and unsightly.
If you think you're experiencing a blowout, don't panic! First thing's first - contact your piercer immediately. They can give you helpful and qualified medical advice on how to deal with your injury. As tempting as it may be, DO NOT continue to stretch through a blowout. You will not have a good outcome. To help a blowout heal, size down one (1) to two (2) sizes to allow your ear to swell and heal. From there, you can slowly work back into stretching your ears again. BE PATIENT. It’s a little extra time, but it is absolutely worth it to maintain the long-term health of your earlobes.
One last time - patience is key! If you're not sure if your ear is ready to stretch up, don't rush the process. If you are confused or wondering what's next, it's best to contact your professional piercer and schedule an in-person consult.
What Are Tapers?
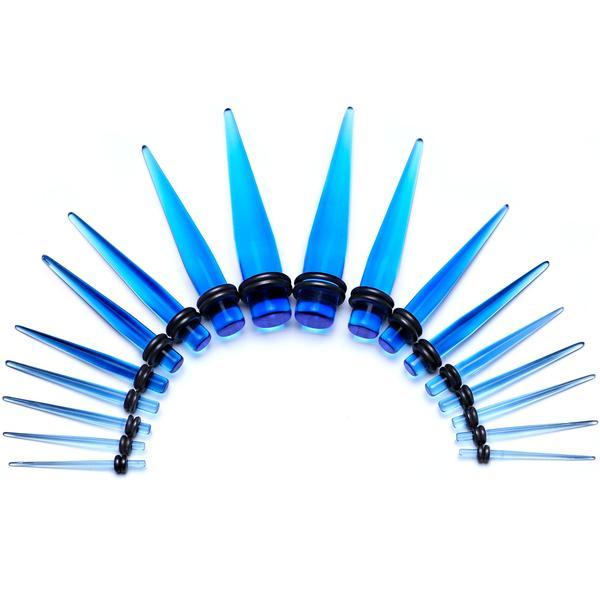
"Tapers" are a special type of jewelry made to stretch ears from one size to the next. Their specialized, conical shape will be instrumental in helping size your ear piercing up, especially through the smaller-sized gauges (size 0 to 00).
Tapers come in a variety of materials - most commonly stainless steel and acrylic (they may also come in glass or other surgical-grade metals). As with most jewelry, a surgical-grade metal is your best option, as it can be completely sterilized. Acrylic tapers are a more cost-effective option, but are not as ideal - they run a higher risk of carrying bacteria which could find its way into a "torn" ear. As long as you are consistently keeping your ear and the tapers clean, and aren't wearing acrylic tapers long-term, acrylic should be a relatively safe option.
Body Candy offers a number of different stretching kits in many different materials. Check them all out here.
Using Tapers to Stretch:
Tapers certainly offer a unique "aesthetic," but they aren't meant for long-term wearing. The o-ring and unique weight of the tapers may irritate a freshly stretched piercing. Instead, tapers should only be worn as a tool to help reach your piercing's next gauge size.
To insert a taper, find a lubricant that works for you - we recommend vitamin e oil or jojoba oil. Lubricate both the taper AND your earlobe and slowly and gently insert the taper into your ear.
Using the Taping Method to Stretch:
Congratulations! Once you are ready to start the "taping method," you've reached the upper echelons of ear stretching.
You're all set and ready to rock some beautiful new plugs already, but if you want to stretch your ears even further, at this point in the process, you're ready to progress from tapers to a more gradual form of stretching - the taping method.
Once you hit the 0 to 00 size, most ears start to experience a "plateau" in being able to size up. Once you reach this size, the jumps between sizes will be harder to hit. Because of this, you'll have to take even greater precautions to protect your ears - as long as you're being patient and stretching gradually, your ears should hold up.
This method uses tape to gradually add a small bit of diameter to your plug. Once you've washed your hands and sterilized your jewelry, wrap the tape around the plug two to three times. Repeat this process every two (2) to three (3) weeks.
We recommend using PTFE tape (a.k.a. plumbers' tape or teflon tape) - which is both safe and cost effective. Avoid using electrical tape, scotch tape, or duct tape.
If you are concerned about the elasticity of your lobes (shrinking down to a "normal" lobe size later on), most professionals suggest going no larger than a 0 gauge. If you stop at this point, your ears should bounce (or shrink) back with no issue. Keep in mind that every person's skin is different - you may find that your ears won’t shrink back at all.
Some Helpful Hygiene Tips:
Here are a few things to keep in mind during your stretching journey:
- Vitamin E Oil or Jojoba Oil should be on hand at all times
- Hot showers are very helpful and very healthy for any healing piercing
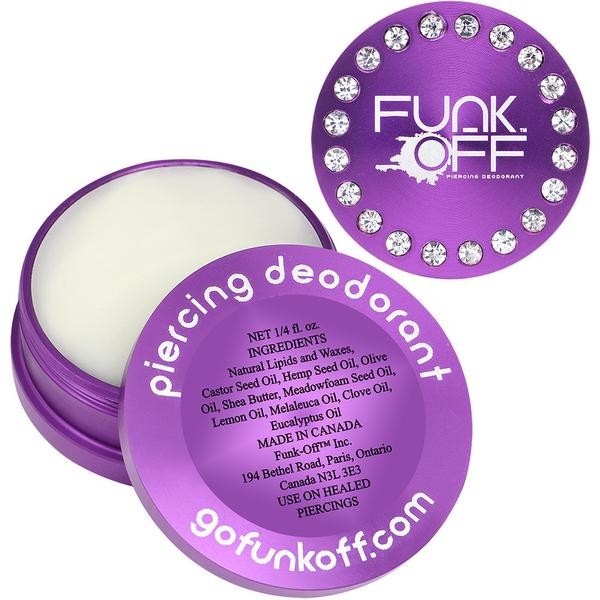
- Wash your ears daily to reduce the smell of "ear cheese," which is very smelly but totally normal. Ear funk is simply a build up of dead skin cells trapped by your jewelry. If you start to smell something sour, it's time to wash!
- While stretching, you should invest in a set of plugs for each size. Remember that tapers are not meant for extended wear. They can get caught on things and irritate your ear, prolonging the time it takes to stretch effectively and damaging your skin in the process.

